You will be pleasantly surprised by this homemade Eskimo Pie popsicle recipe if you enjoy rich chocolate-covered ice cream sweets! This recipe will show you how to make the tastiest, most nostalgic treat in your kitchen. These homemade Eskimo Pies are simple to prepare, healthy, and customizable, with a smooth, velvety ice cream center and a crunchy chocolate crust. This recipe will quickly become your favorite, whether you are cooking them for kids, a summer party, or just to sate your ice cream desires!
Making your frozen sweets at home has a unique quality. You can make a dessert that completely meets your taste by experimenting with flavors and textures, in addition to having complete control over the quality of the components. Additionally, homemade Eskimo Pie popsicles evoke fond memories of childhood, making them an enjoyable and fulfilling family culinary endeavor.
Why You’ll Love This Homemade Eskimo Pie Popsicle Recipe
- Superior to store-bought No added sugar, artificial flavors, or preservatives.
- Customizable: Select the chocolate coating and ice cream flavor of your choice.
- Ideal for people of all ages A tasty and entertaining dessert for both adults and children.
- Simple materials and detailed directions make this dish easy to prepare.
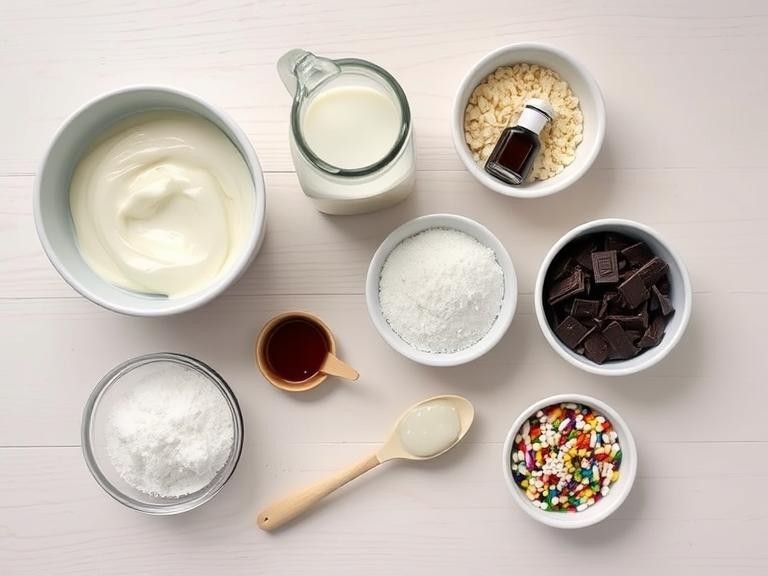
Ingredients You’ll Need
For the Ice Cream Base:
- The thick, creamy smoothness that gives the ice cream foundation its smooth, decadent texture is provided by two cups of heavy cream.
- One cup of whole milk helps maintain the texture’s lightness and airiness while counterbalancing the richness of the heavy cream.
- ½ cup of granulated sugar: This improves the ice cream’s overall flavor and adds sweetness.
- The addition of one teaspoon of vanilla extract gives the ice cream a traditional vanilla taste that goes well with the chocolate shell.
For the Chocolate Shell:
- The main component of the crispy exterior layer, which gives the popsicle that delightful snap when you bite into it, is two cups of finely chopped dark or milk chocolate.
- To ensure that the melting chocolate coats the ice cream smoothly and solidifies into the ideal shell, use two tablespoons of coconut oil to thin it.
Optional Toppings:
- Crushed nuts—almonds, peanuts, or hazelnuts—improve the nutty flavors and give the dish a crisp texture.
- Sprinkles: An enjoyable method to add sweetness and color, ideal for celebrations or children.
- Shredded coconut gives your Eskimo pies a tropical flair while also enhancing their taste and appearance.
From the crunchy, rich chocolate coating to the creamy, melt-in-your-mouth ice cream foundation, each of these components is essential to creating the ideal handmade Eskimo Pie popsicle. You can alter the popsicles to suit your tastes with these components, so every bite will be a delicious treat!

Step-By-Step Instructions
1. Make the Ice Cream Base
- Mix the ingredients: In a large bowl, whisk together the sugar, vanilla extract, heavy cream, and whole milk. For a smooth texture, make sure the sugar dissolves completely.
- Fill the molds: Do not overfill the popsicle molds; instead, pour the mixture evenly into them.
- Popsicle sticks should be inserted in the middle of each mold. To keep them in place if they can not stand up straight, cover the molds with foil and insert the sticks through.
- Properly freeze: For optimal results, place the molds in the freezer and let them set for at least four to six hours or overnight.
2. Prepare the Chocolate Coating
- Melt the chocolate: In a bowl that is safe to use in the microwave, combine the chopped chocolate and coconut oil. To avoid burning, heat in 30-second increments while stirring thoroughly each time.
- whisk until smooth: After the mixture has completely melted, whisk it until it is smooth and lump-free.
- Cool slightly: To avoid the chocolate melting the ice cream when dipped, let it sit for 5 to 10 minutes.
- Use a deep container: Fill a deep basin or cup with the melted chocolate. This facilitates dipping the popsicles for a uniform coating.
3. Dip the Popsicles
- Carefully unmold the ice cream pops by taking them out of the molds. If they are trapped, release them by briefly running warm water over the mold.
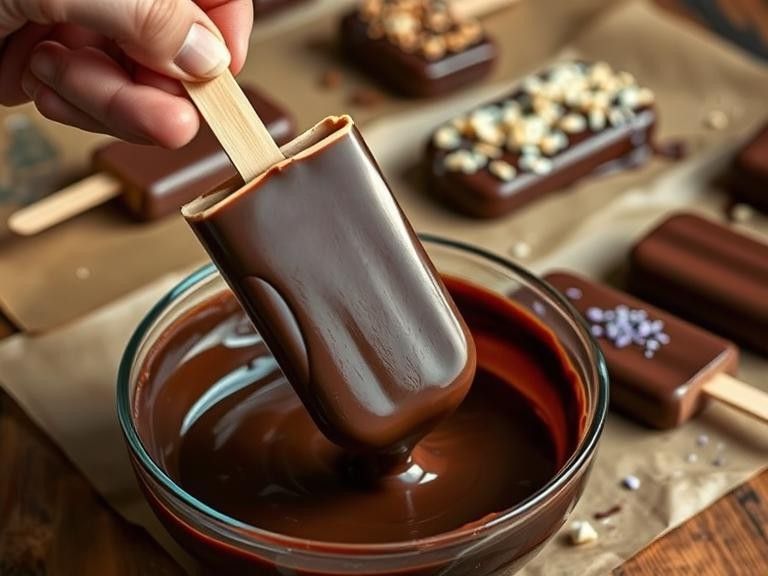
- Quick dipping: To ensure a uniform coating, dip each frozen popsicle into the chocolate completely, one at a time.
- Allow extra chocolate to drip off by holding the dipped popsicle over the bowl for a short while.
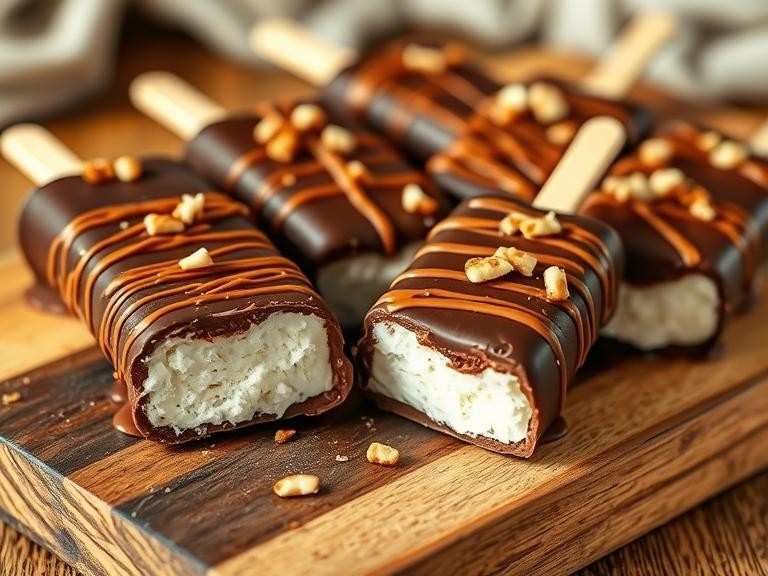
- Add toppings (optional): Sprinkle crushed almonds and coconut flakes on top of the popsicle or immediately before the chocolate solidifies.
- To harden the shell, place the dipped popsicles on a tray coated with parchment paper and return them to the freezer for at least half an hour.
4. Serve and Enjoy!
- Verify the texture: Make sure the chocolate shell is completely set before serving.
- Savor right away: The best way to enjoy these handmade Eskimo Pies is right out of the freezer.
- Proper storage: To avoid sticking, store them in an airtight container separated by parchment paper if you will not be eating them straight away.
For me, creating these popsicles was a really enjoyable and fulfilling experience. I recall that my first batch was a little sloppy, but the second time, I managed to get the dipping technique perfect! The secret is to work rapidly and dip swiftly before the chocolate solidifies. It is worth the effort to bite into that crispy chocolate shell and get to the creamy vanilla center!

Personal Experience with This Recipe
Store-bought Eskimo pies never tasted quite as good as the ones I grew up with, but I have always enjoyed them. For that reason, I made a handmade version of this recipe for Eskimo Pie popsicles, and it was even better than I had anticipated! The finest aspect? I could alter it to my preference, occasionally using white chocolate and occasionally adding sea salt for contrast.
Kids enjoy adding toppings and dipping the popsicles in chocolate, making it a fun family activity. This is the perfect nostalgic treat if you are searching for something simple and fulfilling.
Expert Tips for the Best Homemade Eskimo Pie Popsicles
- Make use of high-quality chocolate because it will result in a richer and more tasty covering.
- Work swiftly when dipping: Dip and coat one popsicle at a time because the ice cream melts quickly.
- Allow the chocolate to cool somewhat before dipping to keep the ice cream from melting.
- Make sure the ice cream is completely frozen before dipping the popsicles to speed up the hardening of the chocolate.
- Dip the popsicles in a deep cup; a tall, narrow cup makes it easier to coat them completely.
- Double dip for a thicker shell: For an added crunchy texture, wait for the initial layer to solidify before dipping again.
- Store correctly: To avoid sticking, place parchment paper between each popsicle in an airtight container.
- Tailor flavors: To make your Eskimo Pies special, try a variety of ice cream bases and toppings.
Creative Variations to Try
- Peanut Butter Addicts: Sandwich the chocolate covering and ice cream with a small layer of peanut butter.
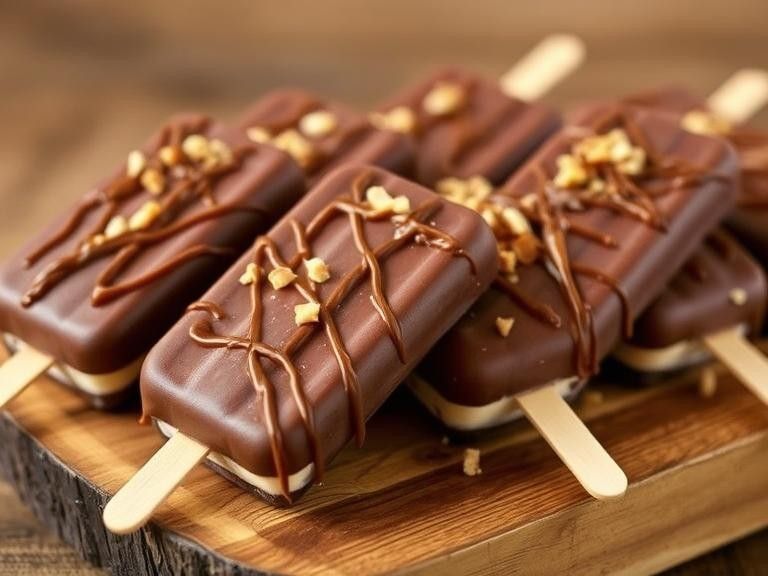
- Caramel Delight: Before dipping in chocolate, drizzle caramel over the ice cream.
- Berry Bliss: For a delicious twist, include pureed berries in the ice cream base.
- Cookies and Cream: To add more taste and texture, crush Oreo cookies into the ice cream base.
- Mint Chocolate Chip: Top the ice cream base with small chocolate chips and a few drops of mint extract.
- Espresso Boost: For a coffee-flavored treat, stir a teaspoon of instant espresso powder into the ice cream base.
You can also try our Blue Jam Garlic Aioli or Cozy Turkey Cranberry Chili Recipe
How to Store and Serve Your Homemade Eskimo Pies
- Proper storage involves putting the completed popsicles in an airtight container and sandwiching them with parchment paper to keep them from sticking.
- Use freezer bags: To make things easier, wrap each Eskimo pie in plastic wrap or wax paper and keep them in a freezer bag that can be sealed.
- Freeze for long-term storage: Proper storage can keep these homemade goodies fresh for up to three weeks.
- Before serving, let them sit for two to three minutes. This will give them a somewhat softer texture. Take them out of the freezer.
- Additional toppings can be added to improve the flavor, such as crushed nuts, sea salt, or caramel drizzle.

FAQs – Homemade Eskimo Pie Popsicle Recipe
1. Can I make my ice cream or can I use store-bought?
Yes! You can use your preferred store-bought ice cream if you are pressed for time. Before filling the molds, simply let it soften a little.
2. What are some ways to keep the chocolate from breaking?
Ensure that your ice cream pops are extremely cold without becoming too solid. Additionally, the chocolate stays smooth and malleable when coconut oil is added.
3. Is it possible to make these vegan or dairy-free?
Absolutely! This dish can be made vegan by using dairy-free chocolate and ice cream made with coconut milk or almond milk.
4. What is the shelf life of handmade Eskimo Pie popsicles?
Although they are so tasty, they probably will not survive that long, but they can last up to two months in an airtight container!
5. Is it possible to use different kinds of chocolate?
Yes! White chocolate, milk chocolate, or dark chocolate all work well. Chocolates can also be combined to create a marbled look.
Conclusion – Homemade Eskimo Pie Popsicle Recipe
An enjoyable, satisfying, and delectable experience is creating your own homemade Eskimo Pie popsicle recipe. These popsicles will be a success with everyone since they have easy-to-make ingredients, adaptable flavors, and the ideal ratio of creamy to crunchy. You will not ever want store-bought Eskimo Pies again after trying this recipe!

